(703) 771-8374

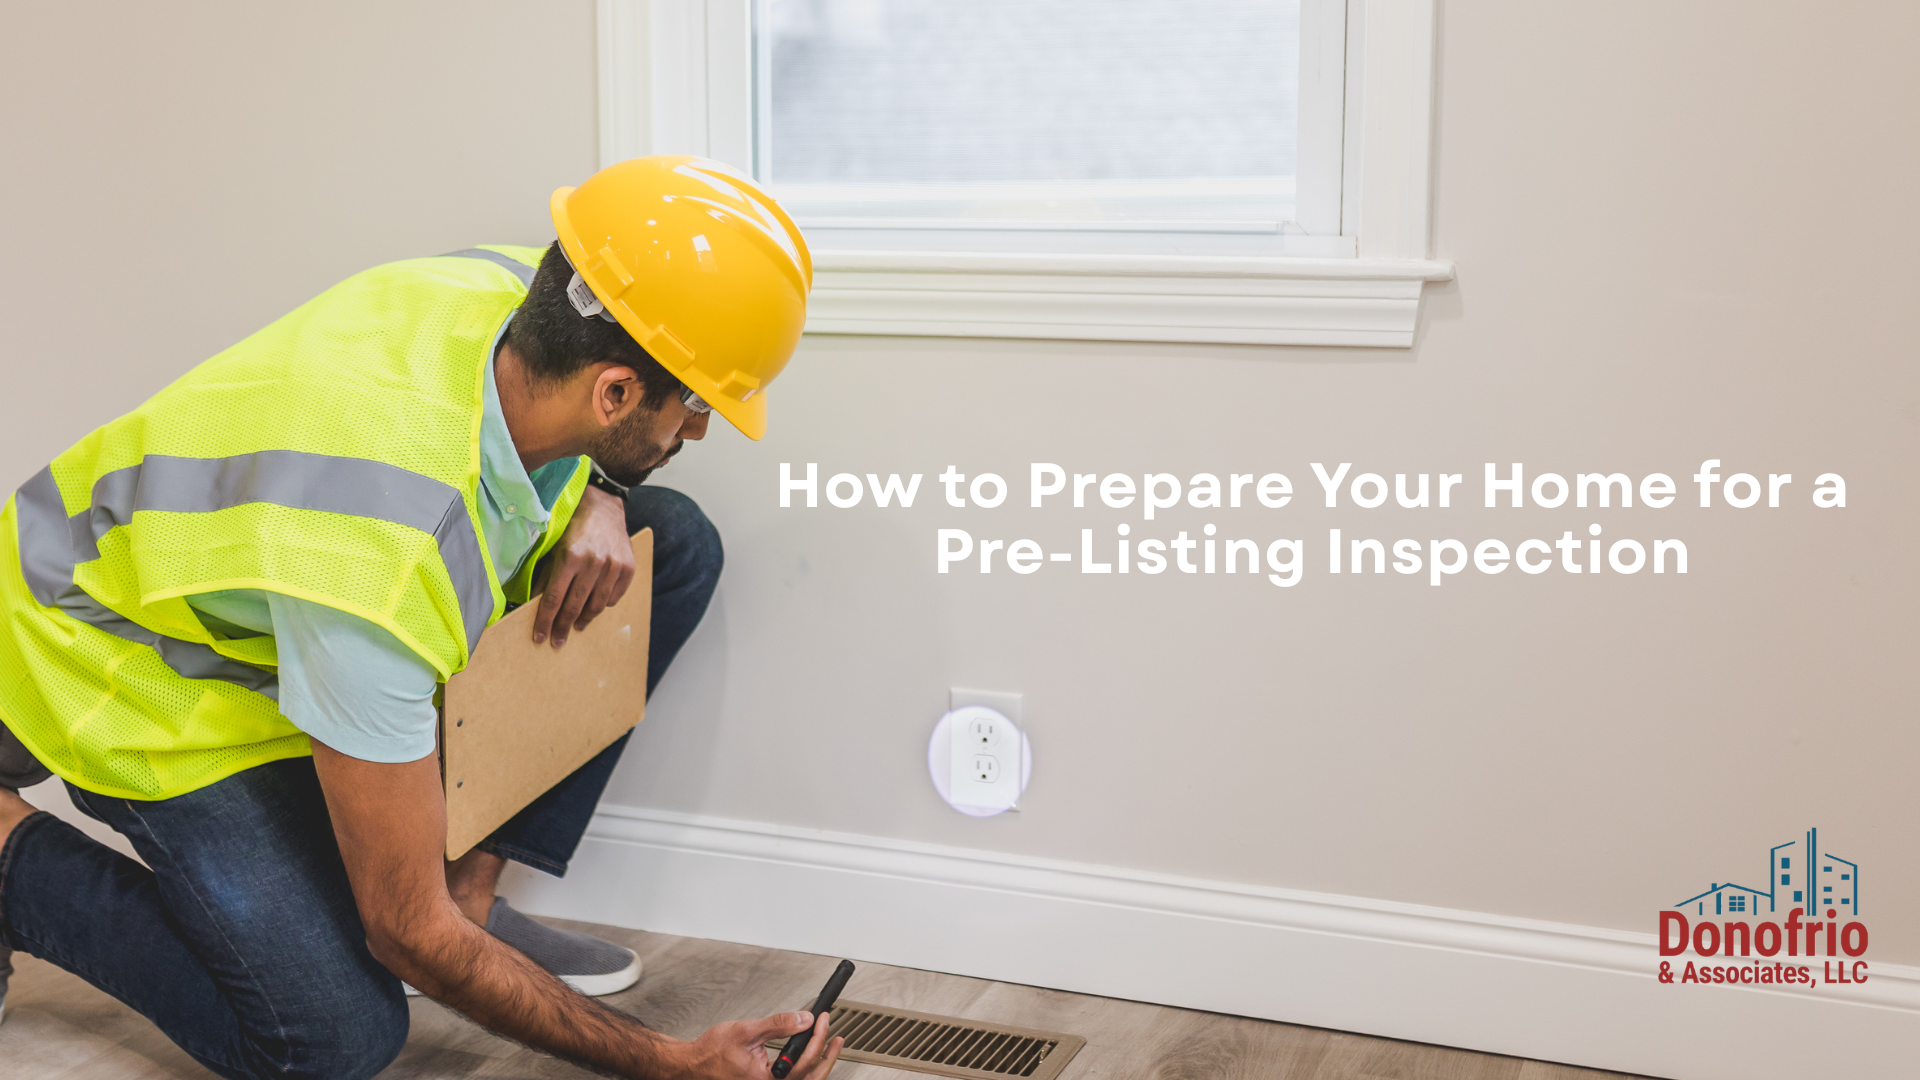
How to Prepare Your Home for a Pre-Listing Inspection
Return To Blogs
Intro
When putting your home on the market, scheduling a pre-listing inspection is one of the smartest strategies to streamline your sale. By identifying repair needs before potential buyers walk through your front door, you gain total control over the narrative, avoid last-minute contract friction, and prevent surprises from stalling your closing timeline. However, to get the most out of your evaluation, your home needs to be fully accessible and ready for a complete walkthrough. Taking time to prepare your property ensures your inspector works efficiently and helps your official report present your home in its best possible light.
Guarantee Clear Access to Essential Utilities and Mechanicals
On inspection day, the inspector must physically examine and operate every major system in the house. If access to an attic scuttle, electrical breaker box, or water heater is blocked by storage boxes or furniture, the inspector will mark those areas as “uninspected” on your report. This often raises red flags for potential buyers and may trigger a re-inspection delay. Before the appointment, clear a three-foot pathway around your main electrical panel, furnace, air handler, water heater, and sump pump, and make sure attic access hatches and crawlspace entrances are completely unobstructed.
Verify All Utilities, Pilot Lights, and Safety Controls Are Active
An inspector cannot properly test appliances or mechanical systems if utilities are turned off or pilot lights are unlit. Ensure that electric, gas, and water services remain fully active throughout the property. Check that all circuit breakers in the main electrical panel are in the “on” position and light bulbs in all fixtures are functional so the inspector doesn’t mistake a burnt-out bulb for a faulty electrical fixture. Additionally, verify that gas pilot lights for gas fireplaces, water heaters, and furnaces are lit and operating safely.
Address Minor Maintenance Fixes and Clear Exterior Barriers
Taking care of small, visible maintenance tasks before the inspector arrives creates an immediate impression of a well-cared-for home. Fix minor issues like dripping faucets, slow-draining sinks, loose door hardware, and cracked window panes. Outside, cut back overgrown tree branches or heavy shrubbery that rest against exterior siding, rooflines, or air compressor units, as these can trap moisture or obstruct the inspector’s view of the foundation. Taking these proactive steps keeps the final report clean and focused on major structural integrity rather than minor maintenance items.
Secure Household Pets and Organize Important Documents
A smooth walkthrough requires a safe, distraction-free environment for both the inspector and your animals. Plan to crate your pets or arrange for them to stay off-site during the two- to three-hour appointment window. Finally, gather and leave out any relevant documentation for recent home improvements, roof replacements, HVAC servicing, or appliance warranties. Providing a clear maintenance paper trail builds immediate trust with future buyers and demonstrates that your property has been responsibly maintained throughout your ownership.
Conclusion
Preparing your home for a pre-listing walkthrough is an investment that pays off directly in smoother contract negotiations and a faster, stress-free closing. By clearing access pathways, ensuring all systems are powered, and taking care of minor maintenance tasks ahead of time, you help the inspector deliver a clean, accurate report. Moving into the selling process with complete transparency gives you strong leverage, allows you to price your home accurately, and gives potential buyers maximum confidence in your property.
Recent Blogs
Signs Your HVAC System May Need Replacement Before You Buy a Home
Sep. 25, 2026
Why Every Homebuyer Should Attend the Home Inspection
Sep. 18, 2026
Do Home Inspectors Check Foundations?
Sep. 11, 2026
7 Roof Problems Home Inspectors Commonly Find in Northern Virginia
Aug. 28, 2026